


-
CONTENT
- essential materials
- step1:Choose High-Quality Fabric
- step2:Cut the Fabric and Dividers
- step3:Sew the Exterior and Interior Linings
- step4:Install the Zipper and Elastic Bands
- step5:Insert the Foam Dividers
- step6:Decorate and Personalize
- Lucky Case
- Conclusion
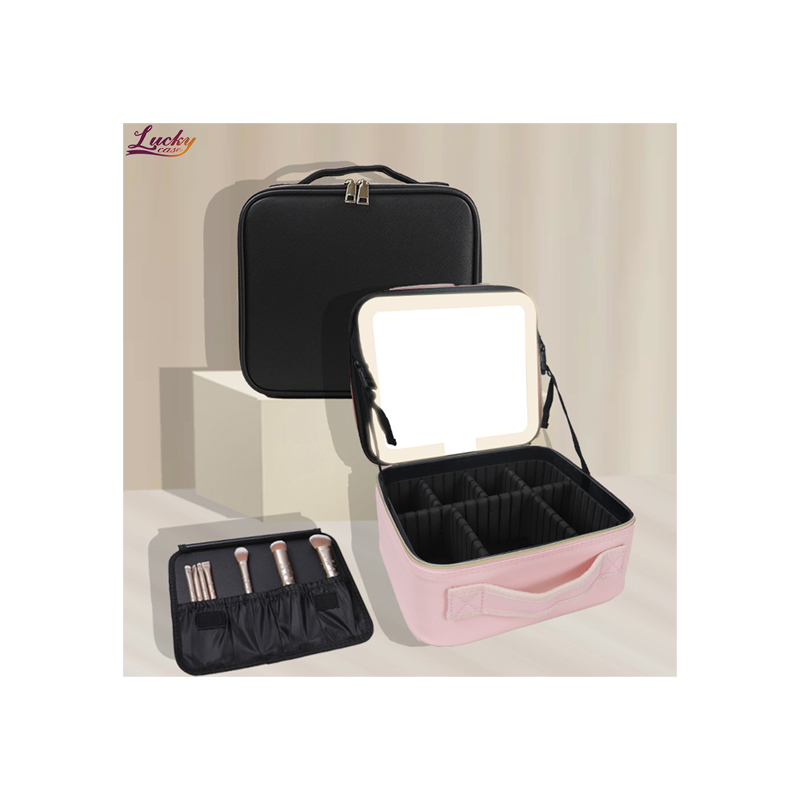
In this tutorial, we will walk you through the process of making a professional makeup bag. Whether you're a professional makeup artist or a hobbyist, this guide will help you create a functional and stylish makeup bag that can store and carry all your essential tools. Ready to get started? Let’s go!
|
Essential Materials |
|
| 1. | high-quality durable fabric |
| 2. | a large zipper |
| 3. | elastic bands |
| 4. | foam dividers |
| 5. | scissors |
| 6. | a sewing machine |
| 7. | ...... |
Step 1: Choose High-Quality Fabric
Selecting durable and easy-to-clean fabric is crucial. The fabric you choose will directly impact the bag's durability and professional appearance. Common choices include waterproof nylon, PU leather, or heavy-duty cotton.
Step 2: Cut the Fabric and Dividers
Next, cut the fabric to the required dimensions and tailor the foam dividers according to your tool needs.
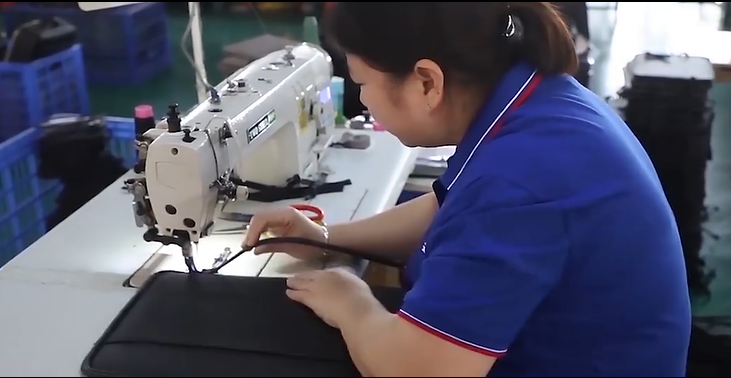
Step 3: Sew the Exterior and Interior Linings
Now, start sewing the exterior and interior linings of the makeup bag. Ensure the seams are strong, and leave space for inserting the dividers and elastic bands.
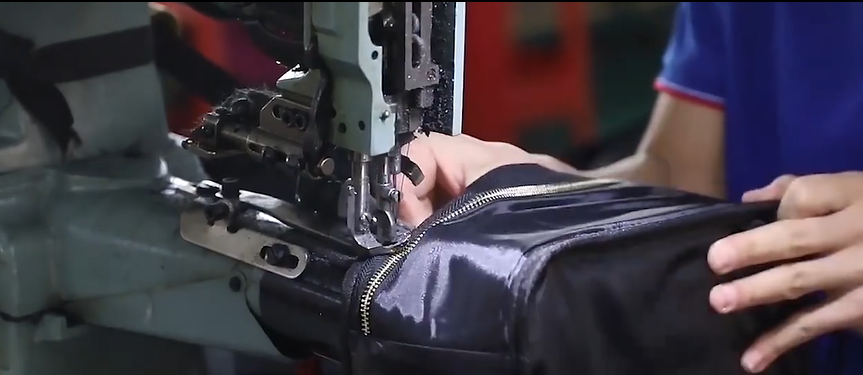
Step 4: Install the Zipper and Elastic Bands
Install the large zipper, ensuring it opens and closes smoothly. Then, sew the elastic bands onto the interior lining to secure brushes, bottles, and other items.
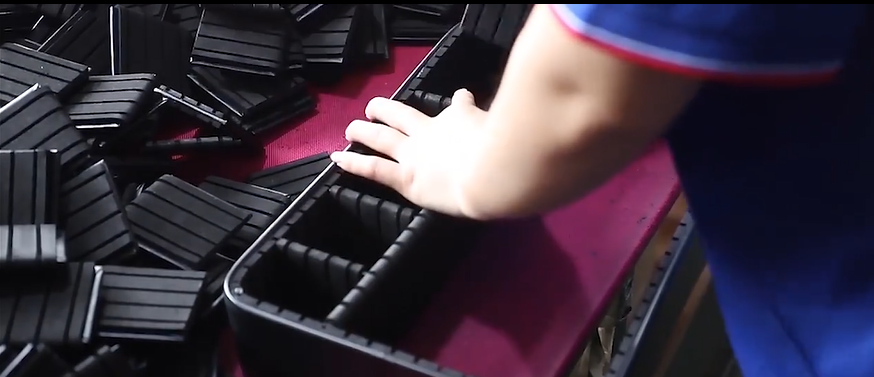
Step 5: Insert the Foam Dividers
Insert the foam dividers you previously cut into the bag, ensuring each one is securely fixed in place to prevent tools from shifting inside the bag.
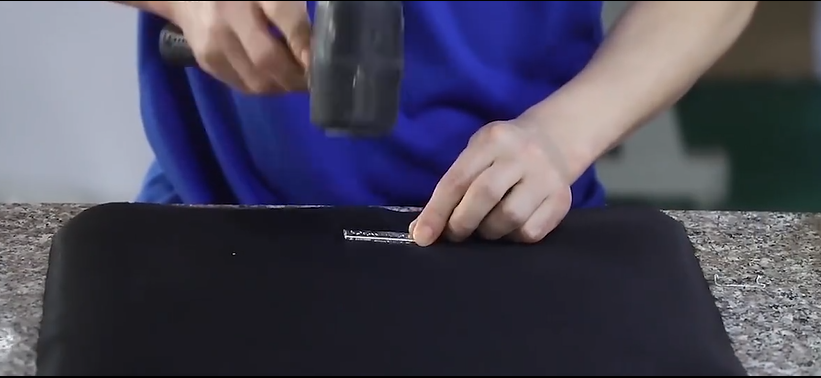
Step 6: Decorate and Personalize
Finally, you can add personal touches to your makeup bag, such as custom embroidery, brand labels, or other unique design elements.
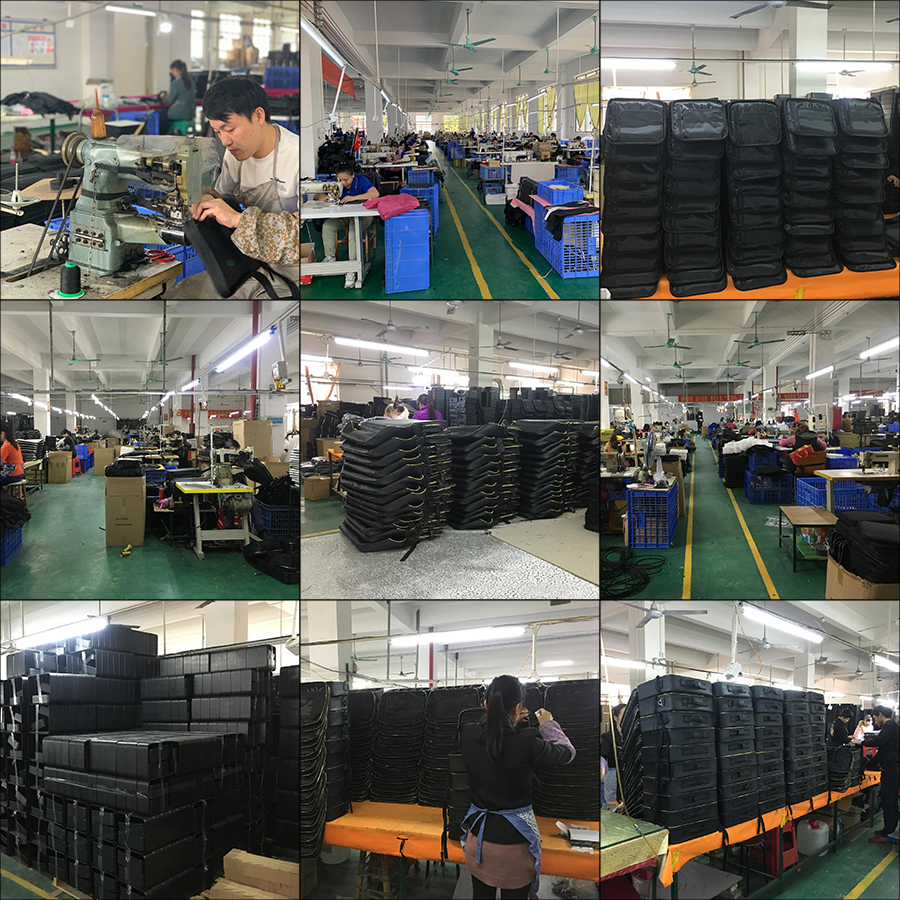
Lucky Case is a professional makeup bag manufacturer dedicated to providing customers with high-quality and diverse makeup bag products. We prioritize high-quality materials, exquisite craftsmanship, and fashionable design to ensure that every makeup bag combines practicality and aesthetics. Whether it's a small makeup bag for daily use or a large capacity makeup bag tailored for professional makeup artists, we can meet your needs. We also offer customized services to provide you with products that satisfy you. Welcome to cooperate with us and create the perfect combination of beauty and quality together.
Conclusion
Through this tutorial, you can create a professional makeup bag. Not only can it safely store and organize your makeup tools, but it can also enhance your professional image at work. We hope this process is not only fun but also fulfilling. If you encounter any problems during the production process or have other DIY project ideas, please feel free to contact our customer support team at any time. We are more than happy to provide you with further assistance or advice. In addition, if you are interested in our products or customized services, please do not hesitate to contact our team. We are committed to providing you with the highest quality products and the most thoughtful services, helping you achieve every idea and need.
Post time: Aug-19-2024
