- Experience and Expertise: With 16 years in the industry, we bring unparalleled knowledge and skill to every project.
- Quality Assurance: We adhere to strict quality control processes to ensure that every case meets our high standards.
- Customer-Centric Approach: We work closely with our clients to understand their specific needs and deliver customized solutions that exceed expectations.
- Innovative Solutions: Our commitment to innovation drives us to continuously improve our products and offer the best protective solutions available.
Whether you're a musician, a photographer, or a professional who needs to transport delicate equipment, building a custom flight case can be a valuable skill. I will walk you through the steps to create a durable and protective flight case for your needs.
Materials and Tools Needed
Before starting, make sure you have the following materials and tools:
- Plywood sheets (at least 9mm thick)
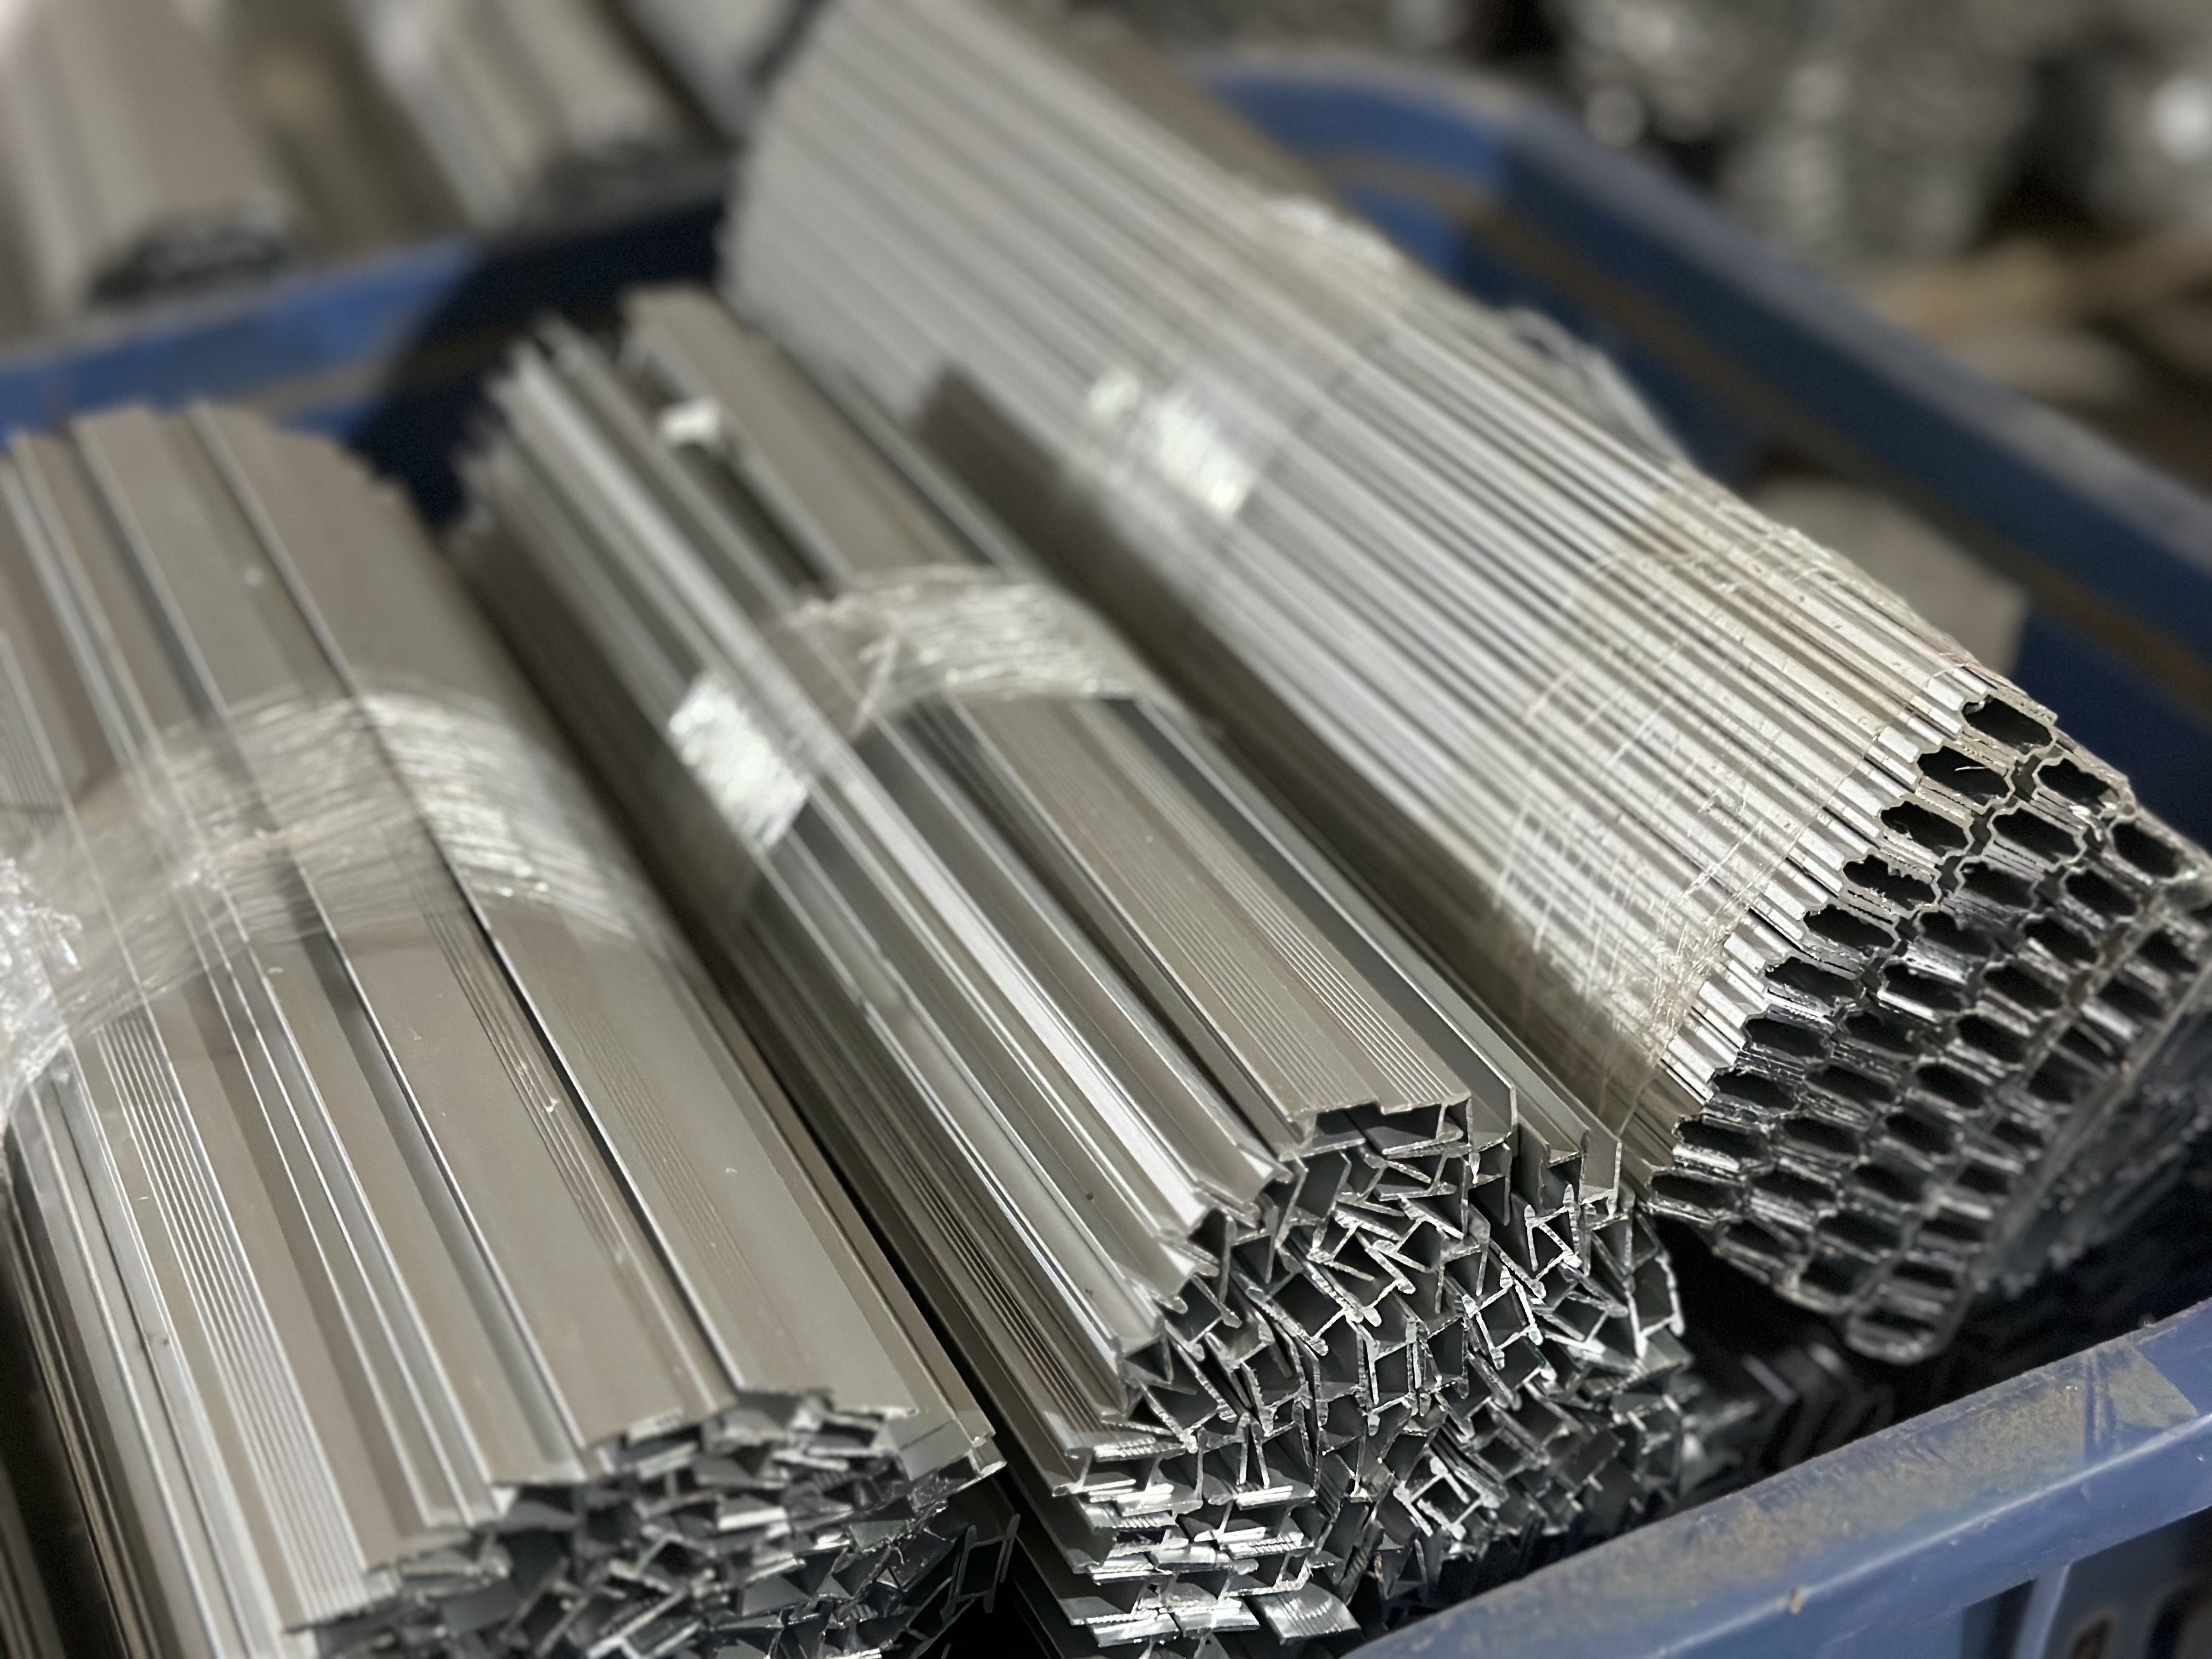
- Aluminum extrusion profiles
- Corners, handles, and latches
- Foam padding
- Rivets and screws
- Power drill
- Saw (circular or table saw)
- Measuring tape and pencil
Process: This image displays all the necessary materials and tools laid out neatly, allowing you to verify you have everything needed before starting the project.

Step 1: Cutting the Plywood
Measure the dimensions of the items you need to protect and add a few inches for foam padding. Cut the plywood into panels for the top, bottom, sides, and ends of the case.


Step 2: Cutting Aluminum Extrusions
Cut the aluminum extrusions to size based on the plywood panels' dimensions. This will ensure they fit perfectly around the edges of the plywood.
Step 3: Punching Holes
Punch holes in the plywood and aluminum extrusions to prepare for riveting and screwing.


Step 4: Assembly
Assemble the cut plywood and aluminum extrusions, making sure the edges align perfectly. Use screws and wood glue to secure them.
Step 5: Riveting
Use rivets to securely attach the aluminum extrusions to the plywood, adding strength and durability to the case.


Step 6: Cutting Out Foam
Measure and cut foam padding to fit the interior of the case. Ensure the foam provides adequate protection for the items.
Step 7: Installing Screws
Install screws at key points in the case to ensure all parts are securely connected.


Step 8: Assembling the Flight Case
Assemble all the components together, making sure each part fits snugly to form the complete flight case.
Step 9: Packaging the Flight Case
Once the flight case is assembled, package it securely for transport and storage. Ensure the packaging is robust to prevent damage during transit.
How to Build Your Own Flight Case
Creating your own flight case is a practical and rewarding project. Here's a concise guide to get you started:
- Gather Materials and Tools: You'll need plywood sheets, aluminum extrusions, foam padding, rivets, screws, a power drill, saw, measuring tape, and pencil.
- Measure and Cut: Measure your equipment and cut the plywood panels for the top, bottom, sides, and ends. Cut the aluminum extrusions to fit around the edges.
- Assemble the Box: Align and secure the plywood panels using screws and wood glue. Attach the aluminum extrusions with rivets for added strength.
- Add Foam Padding: Cut and install foam padding inside the case to protect your equipment.
- Install Hardware: Attach corners, handles, and latches securely to the case.
- Final Adjustments: Ensure all parts fit perfectly and test the case with your equipment inside.
By following these steps, you'll have a custom flight case that offers reliable protection for your valuable gear.
Lucky Case specializes in the design and manufacture of custom flight cases tailored to meet the specific needs of our clients. Our extensive experience and expertise have allowed us to perfect our manufacturing processes, ensuring that every case we produce meets the highest standards of quality and durability. Whether you need a case for musical instruments, audiovisual equipment, or delicate electronics, we have the perfect solution for you.
About Flight Case in Lucky Case
Conclusion
Building a flight case may seem daunting at first, but with the right materials, tools, and a bit of patience, you can create a custom case that perfectly suits your needs. Follow this guide step-by-step, and soon you'll have a sturdy and reliable flight case ready to protect your valuable equipment.
Post time: Jul-12-2024


